
One of the quickest ways to make your short film look better is also one of the things new filmmakers tend to overlook:
Light it.
That doesn’t mean you need a truck full of professional movie lights. You probably already have more lighting equipment around your house than you realize. Lamps, flashlights, windows, TVs, computer monitors, Christmas lights, and even the headlights of your car can all become filmmaking tools.
This is especially important for horror filmmakers, because somewhere along the way we seem to have decided that “scary” means “so dark nobody can see what the hell is happening.”
Darkness can be scary. A black screen isn’t.
Here are some inexpensive ways to make your next Carson City Shorts film look considerably better using lights you may already have.
Start With the Lights in the Room
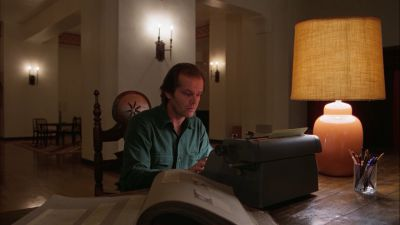
Before bringing anything else into a location, look at the lights that are already there.
Table lamps, floor lamps, desk lamps, sconces, signs, and other light sources that actually appear in the shot are called practical lights. They’re useful because they can illuminate your actors while also giving the audience a believable reason for that light to exist.
Try moving them around. That lamp normally sitting against the wall doesn’t have to stay there just because that’s where you keep it. Move it closer to your actor. Put it behind someone. Swap it with another lamp. Try a different bulb.
You aren’t decorating the room. You’re lighting the shot.
Turn Off the Overhead Lights
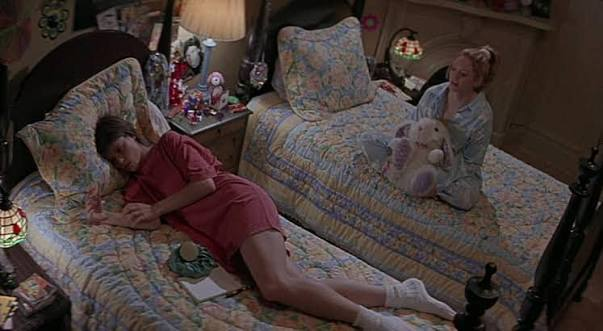
This is one of the easiest experiments you can try. Walk into an ordinary room at night, turn on every overhead light, and take a picture. Now turn them off and use a couple of lamps instead.
Look at the difference.
Overhead household lighting can make everything look flat because light is spilling everywhere. Using individual lamps gives you much more control over which parts of the room are bright and which fall into shadow.
For horror, those shadows are your friends.
Just remember: we still need to see what you want us to see.
Use Your Windows
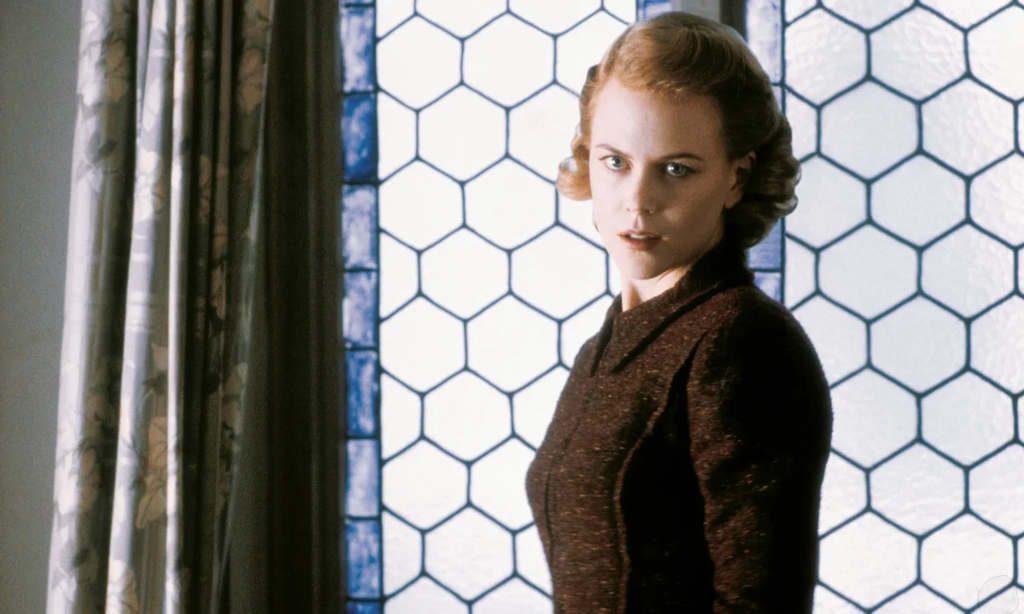
During the day, you have an enormous light source available for free. It’s called the sun!
Put an actor near a window and see what happens. Try turning them toward it, sideways to it, and away from it. Each position creates a completely different look.
You can also soften harsh sunlight with a sheer curtain or even a thin white sheet. On the opposite side of your actor, a piece of white foam board can bounce some of that window light back onto their face. Suddenly you’ve created a basic lighting setup without plugging in a single movie light.
One warning: the sun moves. If you’re shooting a scene over several hours, keep an eye on how the light is changing between shots.
Flashlights Are Fantastic
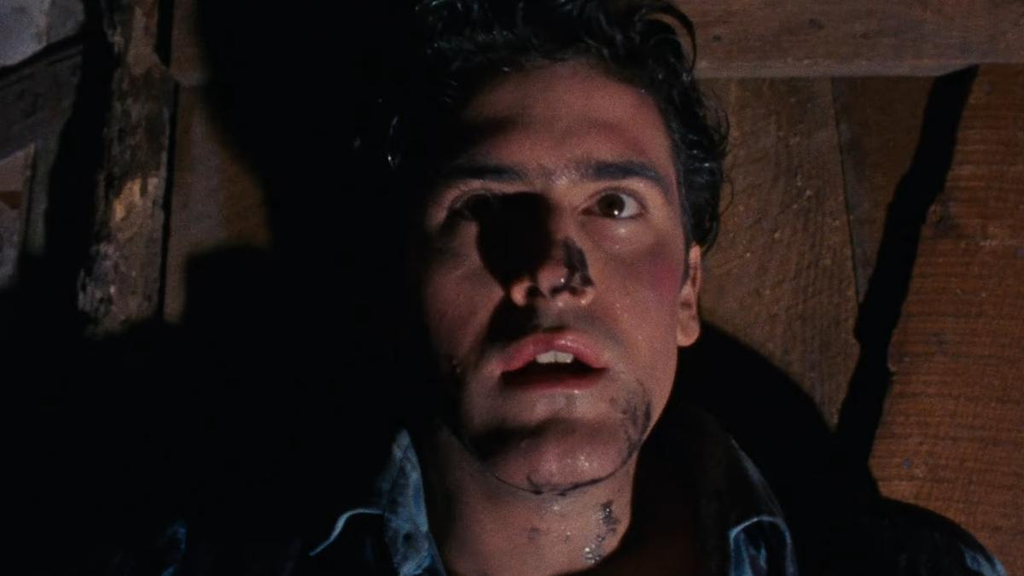
You’re making a horror movie. You have an excellent excuse to use flashlights.
But they don’t necessarily have to appear on camera. A flashlight placed just outside the frame can add a little light to someone’s face. Bounce one off a white wall instead of pointing it directly at your actor for a softer effect. Put one behind something to create a silhouette.
Different flashlights also have different brightness levels and beam shapes. Experiment.
And if the flashlight is part of the story, even better. Now your character is carrying your light source around for you.
Your TV Is a Giant Color-Changing Light
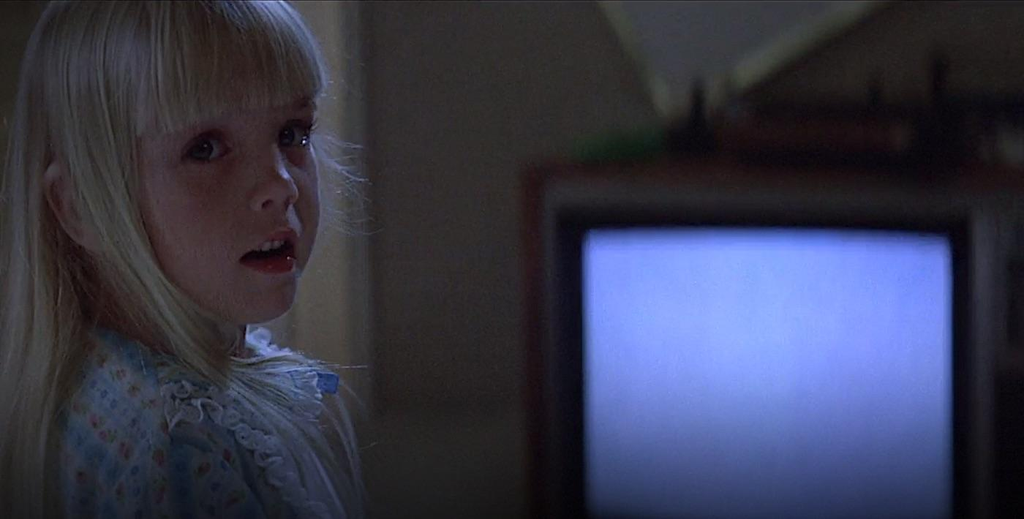
Turn off the lights in your living room and look at what your television does to someone’s face.
Congratulations. You have another practical light.
Televisions and computer monitors can create wonderful flickering light for horror, science fiction, and nighttime scenes. Even a phone or tablet can provide a little extra illumination for a close-up.
You can also change what’s on the screen to change the light hitting your actor. Just be mindful of what the camera can actually see on the screen, particularly if you’re displaying material you don’t have permission to use.
Dig Out the Christmas Lights
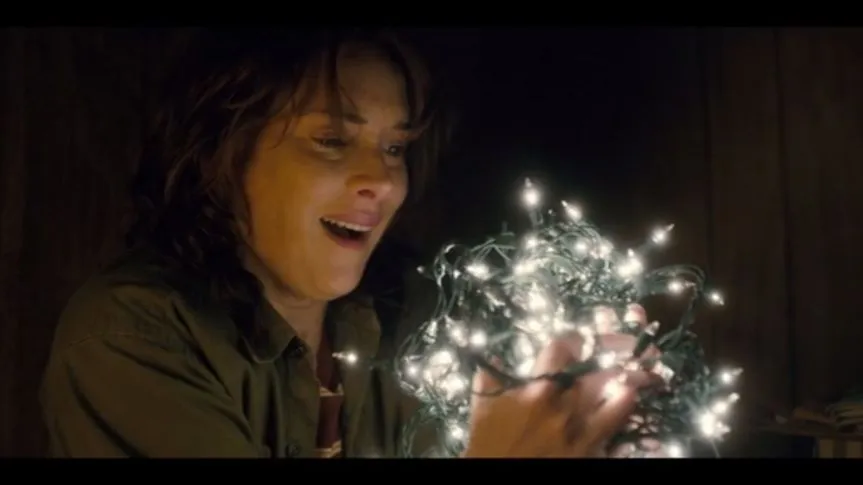
Christmas lights, Halloween lights, LED strips, and other decorative lighting can be surprisingly useful.
They can create interesting backgrounds, add little points of light to an otherwise dark room or give a location some color and depth. And they don’t have to look like Christmas lights.
Put them far enough into the background and out of focus, and those tiny bulbs become little pools of light rather than recognizable decorations.
Use the Lights Outside, Too
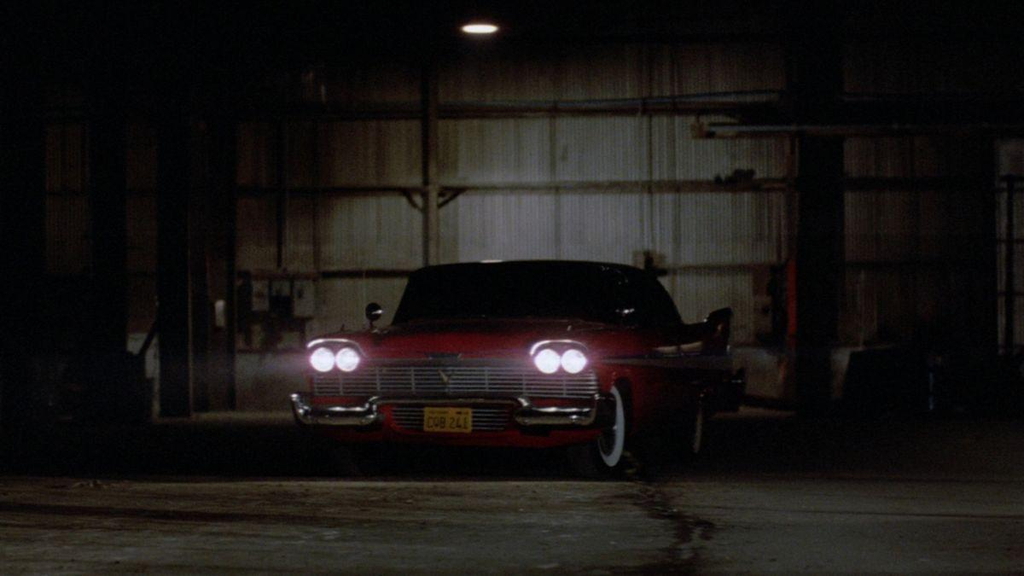
Streetlights, storefronts, neon signs, parking-lot lights, and headlights can all help you.
Car headlights are particularly useful because they’re bright, portable, and you can point them wherever the car will fit.
Need something creepy approaching through the darkness? Sometimes two headlights and a little fog are all you need.
Just be smart about where you’re filming. Don’t stand in traffic or create a hazard because you wanted a cool shot.
No movie is worth getting run over for.
Cheap LEDs Can Go a Long Way
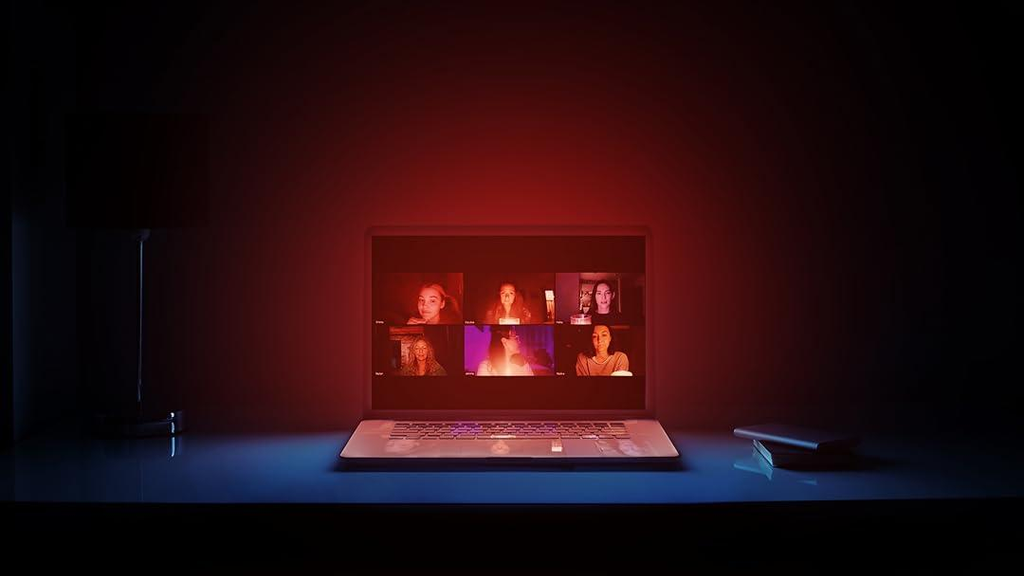
If you do want to spend a little money, you don’t necessarily need professional cinema lights. Small LED panels and inexpensive RGB lights are widely available and can be surprisingly useful for short films. Many let you adjust brightness, color temperature or color.
Even a couple of small lights can dramatically expand what you can do.
And remember that Carson City Shorts competitors receive 25% off equipment rentals from our community partners at Action Camera, so if you need something more powerful for a particular scene, renting may make considerably more sense than buying equipment you’ll rarely use.
Move the Light Before You Buy Another Light
This is probably the biggest tip in this entire article. Move things around.
Put the lamp closer. Move it farther away. Raise it. Lower it. Put it behind the actor. Bounce it off a wall. Turn off everything except one light. Move your actor closer to the window.
Then look through the camera.
Lighting isn’t simply about how many lights you own. It’s about deciding where the light comes from and what you want the audience to see.
Horror Can Be Dark. Your Movie Shouldn’t Be Invisible.
We love shadows in horror. We love silhouettes. We love things lurking just beyond what we can quite make out.
But there’s a difference between intentionally hiding something from the audience and simply underexposing your footage.
If the monster is supposed to disappear into the darkness, great.
If we’re supposed to be watching your actor give an emotional performance but can only see two floating eyeballs, you may need another lamp.
And don’t assume you’ll simply “brighten it in post.” Severely underexposed footage can become noisy and ugly when you try to rescue it later.
Get the image as close as you can while you’re actually filming.
Finally: Experiment Before You Shoot
You don’t need to wait until production day to learn this stuff.
Grab your phone tonight. Turn off the overhead lights. Move a lamp around. Try a flashlight. Stand next to a window. Turn on the television. Put some Christmas lights in the background.
Take pictures of each setup.
See what happens.
You don’t have to know the technical name for every lighting technique to recognize when something looks good.
That’s one of the great things about filmmaking competitions. Every movie gives you an excuse to try something you haven’t done before.
So when your next Carson City Shorts competition begins, don’t just point the camera at your actors and accept whatever light happens to be there.
Look around your house.
Your lighting kit may already be plugged into the wall.
